Showing posts with label Beadboard Projects. Show all posts

Sunday, April 17, 2011

Shabby Chic Pink

I started blogging about the Bathroom Makeover that my brother & I did for our mom HERE
& I FINALLY got over there to take a few more pictures to show you a little more!!!
---------
We decided to go from TAN walls to PINK!!!
The cabinets look SO MUCH BETTER WHITE!!!
My brother Matt is a painter & is AMAZING!
I wish I had a before of her countertop, but it was sort of beige & had the piece that went around the back of the toilet & looks so much better solid WHITE!

She had this cute shelf on her wall already, but we moved it to a different wall & I added beadboard to the back of it & spruced it up with some accessories...

She had this cute BATH bin already & I added some white washcloths & flowers & placed it on the back of the toilet...
Pretty white flowers in a ceramic pitcher always make for a smile!
Some more cute accessories to liven things up!
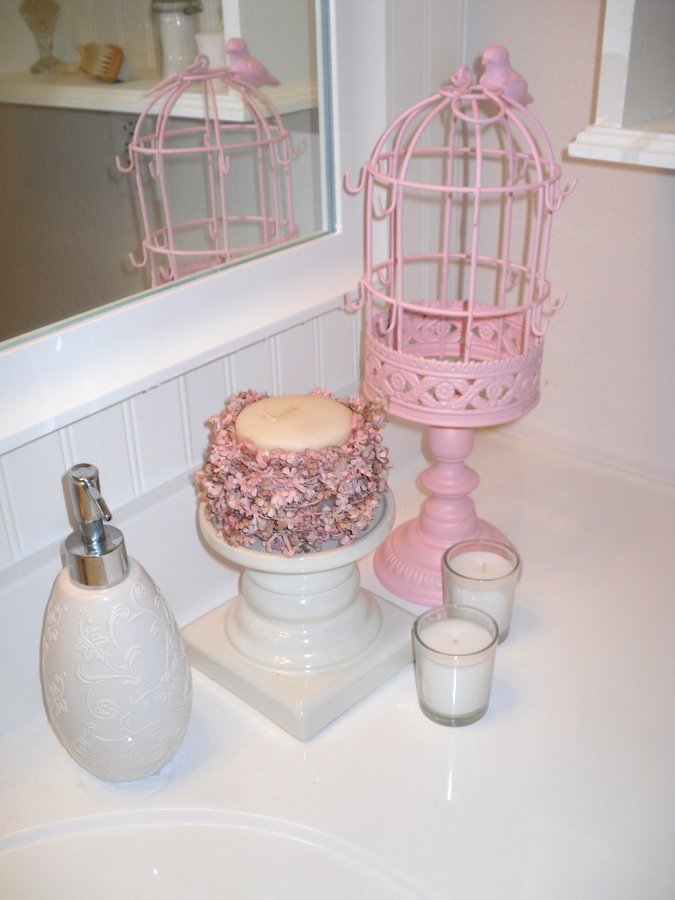
Another brother, just as talented...framed the beautiful mirror for the wall & hung it & it looks PERFECT! It looks a million times better than the wall to wall builder's mirror that was there!

I LOVE the way it turned out!
hopefully my parents do too;)...since they didn't have much say!

 Oh! And she has plans to tile the floor in a WHITE tile & I found these cute Shabby Chic PINK rugs @ Target that look so CUTE(but I forgot to take a pic)

Wednesday, March 16, 2011

BRICK EYESORE TO BEADBOARD BEAUTY

 The Decor Chick is hosting a Molding Linky Party today & I thought it would be fun to link up my "Entry Table" makeover!


 When we bought our home, THIS was the 1st thing everyone saw!
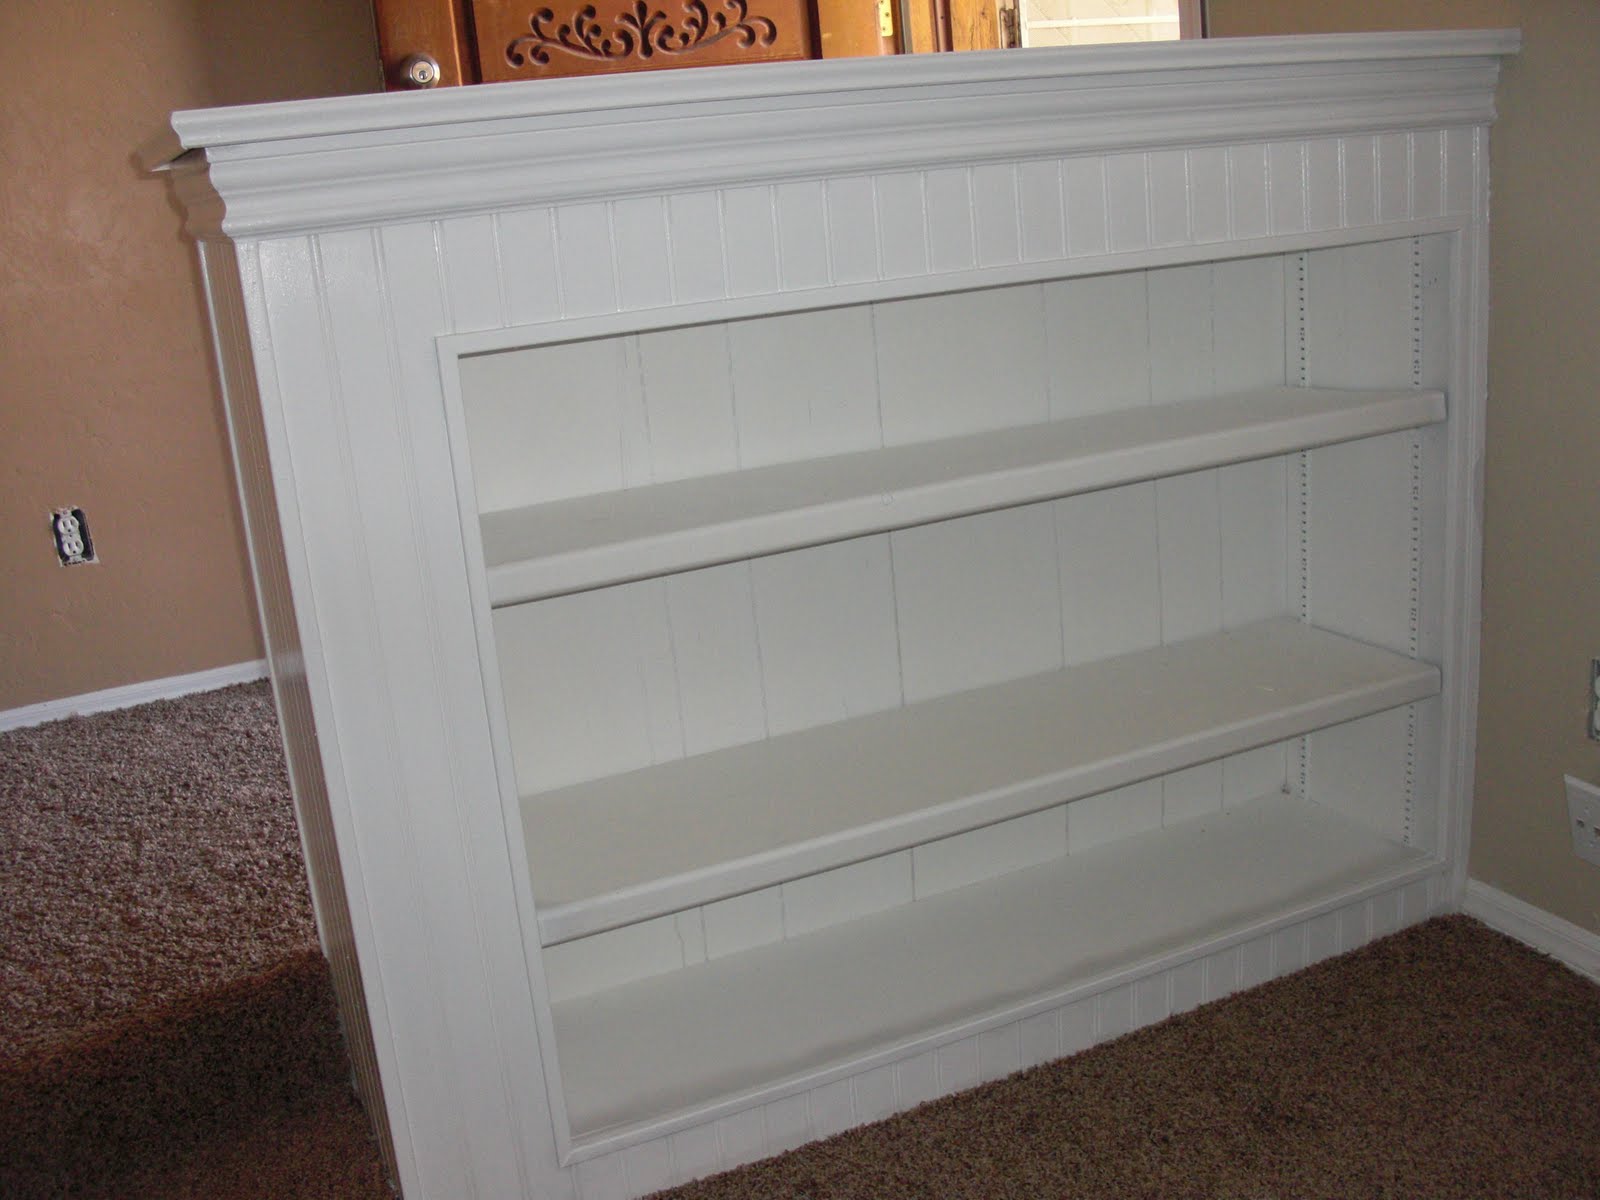
This brick planter, complete with green styrofoam sitting in the top & a brown paneled bookshelf on the back.  

The pebble tech floor & the blue & beige wallpaper didn't help, but don't worry we changed that too! :)
 But look what you can do with a little BEADBOARD!!!
I asked my brother to "wrap the brick" in beadboard & lay a piece of wood OVER the sunken planter & turn this into a TABLE! I left the bookshelf as is, but painted the brown paneling white & now it is the perfect spot for books & cute decor!
 Now when you walk in THIS is what you see & you wouldn't believe the compliments I get on it!
If only people knew what was hiding underneath...
 Here is what it looks like TODAY...
but it changes on a REGULAR basis! I love changing out my HOLIDAY DECOR, so when people come over they are welcomed with a bit of HOLIDAY CHEER!:)


Now, go link up your Molding Projects!!!

Monday, March 7, 2011

Shamrock

Last week, my friend Debbie asked if I had seen the 
DARLING Bead Board Shamrock on Lolly Jane's blog??
I hadn't, so I headed over & found this...
 She asked if I wanted to come over the next day & replicate!?!
Of COURSE I did!!!

I brought over some scrap beadboard & Debbie had paints galore & her wonderful husband cut out the shamrocks for us, that we painted green...
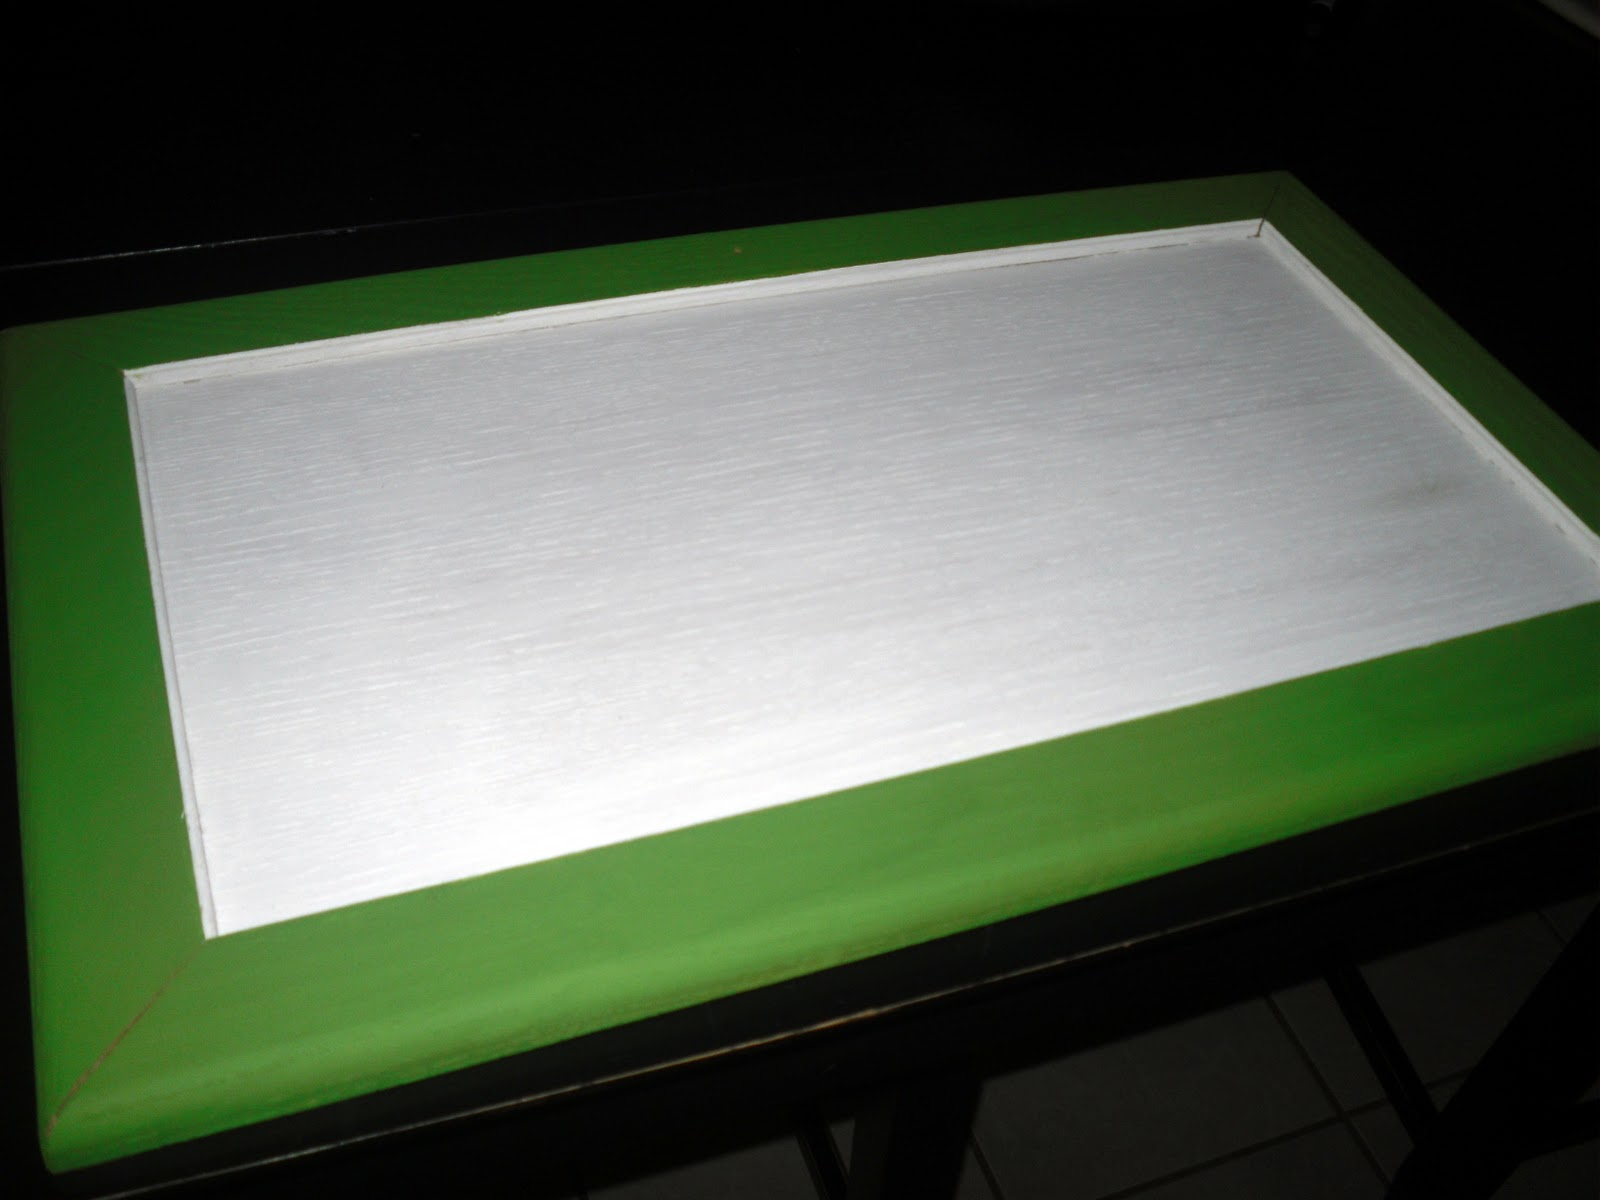
I didn't have any plywood, but we had some CUPBOARD DOORS that we scored for FREE awhile back, so I brought one over, hoping I could make it work. It wasn't a square, but I figured it would be cute & painted the border green & the base white...
After adding the shamrock, there was a LOT of WHITE SPACE...
but thanks to Debbie & her stash of chipboard letters, I dug around and found the letters, "LUCKY", painted them green & poured on the glitter! Once I got home I decided there was still enough white space to add "YOU" & cut out the letters on my Cricut using some cute green scrapbook paper. Then I added a few shiny shamrocks that I had sitting in an Apothecary Jar on my entry table...
Almost forgot to mention, that after painting the cupboard door & shamrock, I decided to distress it with a sander...
And it was DONE! 
Thanks Debbie & Janell for the fun afternoon of CRAFTIFYING!!!


Thursday, January 6, 2011

Inspiring with Bead Board

I LOVE to blog, because I find SO MANY INSPIRING people out there with CREATIVE ideas that they are willing to share, and then I get to turn around and COPY THEM;) 

Well, it was such a FUN SURPRISE to learn that after I posted about making these "Beadboard Key Racks"...
a few readers decided to make some of their own!
Check out Carrie's she made for her daughter's room. I LOVE the knobs she added to hers!
Check out her post at My Creative Escape's!


and a reader named Kellie made these ADORABLE ones & emailed me the pictures...
Cheers to an inspiring 2011 for everyone!

Be inspired...
or inspire someone else!

But let's all KNOCK OFF those expensive ideas floating around everywhere & MAKE THEM BY OURSELVES:) 
Now get Craftifying!


Photobucket

Monday, November 1, 2010

Bedroom Sneak Peek


Our bedroom is coming together nicely.
A little slower than planned, but October was a CRAZY month for us!
We were BUSY, BUSY & I'm soooo happy November is here:)
Here is a little sneak peek of our progress & I will do some BEFORE & AFTERS with the Final Reveal, whenever that may be.

 Our "ledge" above our bed, inspired by Lettered Cottage.
I'm still playing around with what I'm putting on the ledge, but I threw some things up there that I had around the house for now & the LOVE IS ALL YOU NEED boards I made a few weeks ago.

I LOVE these baskets I picked up at Burlington Coat Factory for $5! 
I'm not sure where they will end up, but for now they are sitting on my husband's dresser...awaiting his wallet, keys & other crap,
I mean, pocket contents at the end of each day.
I still have to find several mismatched pillows for my bed. I want greys, whites & maybe a light blue. 
I have found several I love, like THESE...but the price tag is too much. I'm on the search for CHEAP, QUALITY pillows( I hope they exist!)
I did find this GREY one that I LOVE at Ross for $8.99, so it gives me hope!


Once I find some more PILLOWS,  LAMPS for our nighstands, and a BED SKIRT, it will be CLOSE to finished...


I have a CSN Gift Certificate that I need to spend & I'm thinking I want THESE lamps on my nightstands...
What do you think???


I'm SO HAPPY I went with BLUE on our WALLS & GREY for the FURNITURE. We have ZERO natural light in our bedroom. The previous owners, added on to the back of our house(which we love), BUT the ONLY window in our room, now backs the Armoire in our Playroom, creating NO daylight in our bedroom:( I think grey would have been too dark for our situation, but I love it on the dresser and nightstands.

The inspiration behind painting our WALLS BLUE & furniture GREY? The talented Erica with Tart-House Design. I must have found a million "inspiration" photos that incorporated GREYS & Erica's bedroom (pictured below) was the 1st one my husband really liked!
THANK YOU ERICA, for convincing my husband that GREY would work & for inspiring me to go with a light blue on my WALLS!


check out my sidebar for the fun linky parties I'm joining!


Photobucket

Friday, October 29, 2010

Framed!


My cousin AND one of my very BESTEST friends is getting married next month!
We ran off to China together and taught English for a semester & LOVED every second of that experience & then almost a year later, we roomed together at college. We are 3 months apart, so we went through school together, even though we went to rival schools & played against each other in Basketball and Volleyball:) She is the happiest girl in the world and I love her so much! I'm so glad these 2 found each other, they are PERFECT together!

Last night was her Bridal Shower & I really wanted to make her a CLOCK, so I asked for any colors she might prefer. She said she would love ANYTHING, but LOVES ALL WHITE...
Hmmm....
How to make an ALL WHITE CLOCK??
I immediately thought of this one, that I made a few months back...

BUT...the tins I have are 12" and I wanted to make her a 
BIG CLOCK
...so I went to my garage & rummaged around. I knew I needed TEXTURE if I was going to attempt an ALL WHITE clock, so when I saw a piece of bead board that was 
2ft x 2 ft, 
I knew it would be perfect!

Then I saw a long piece of trim laying on the ground(my baseboards for my Master Bedroom Redo & wondered if I could make a "FRAME" for my clock??? I can get another piece of trim for my baseboards later, right;)

I broke out the Miter Saw & cut 45 degree angles on each piece of wood & guess what?! It worked!
Kind of. 
It is NOT professional, but for my 1st attempt at a frame, I thought it wasn't terrible;)

I decided on some BEIGE dots for the numbers so that the overall appearance was still "ALL WHITE", but the clock would actually tell time;)
I roughed up the Bead board a bit & gave it BARELY enough time to dry, before heading off to the shower!:)


Holly, I hope you and Tyson have the 
TIME of your lives together!!!


Photobucket

Wednesday, June 16, 2010

Polka Dots


Last week I made this clock for my friend Katie's baby shower...
I found a small lid...traced it with a pen for every hour mark & then painted each circle in with a small paintbrush, before roughin' it up a bit with sandpaper. 
I like how it turned out, but those circles took WAY TOO LONG!


I was at Walmart the next day (of course!) & saw these circle paint brushes!
I grabbed a package & decided to see how it worked...

It worked great!
and took about 30 seconds to do all 12, 
instead of the 30+ minutes it took me to do all 12 for my friend's clock!

If you have a project that needs some polka dots, I would definitely recommend those brushes! Now...if I could just get them to make them in more sizes, I would love to do some BIG circles on some of my clocks!


Want to order a CUSTOM clock? 
Email me at clocksbystaci@gmail.com
More ideas available on my CLOCK BLOG

Photobucket

Thursday, May 6, 2010

Sophie Clock

I feel so hip "naming" this clock Sophie...


So many of you out there, have popular, stylish names for your items in your Etsy shops, unlike me, who have always named my clocks with {super creative} names like
"24 inch Rustic Red Clock"
or 
"12 inch Pink and White Flower Clock"
or
"36 inch Crackle with Brown Glaze and Family name Clock"

You get the point...not too creative.

Well...this clock "NAMED" itself!

I'm going to a baby shower tonight & she is naming her baby girl SOPHIE. 

Thought I would make a personalized gift for her(mostly because when I go shopping for girl clothes, it makes me REALLY want a GIRL...and I'm not ready for another baby!)
I hope she likes it!

My husband jokes all of the time that I give away more clocks than I sell. 

I suppose it is not really a joke, when it is true;)

Oh well! I'm glad I enjoy creating clocks, so that I CAN give them as gifts when I want to!


Photobucket