I have seen a million tutorials for fabric flowers & I have probably tried most of them, but I promise you this one is the EASIEST. 2 MINUTES tops to make yourself a flower.
I decided to make me up some headbands this morning.
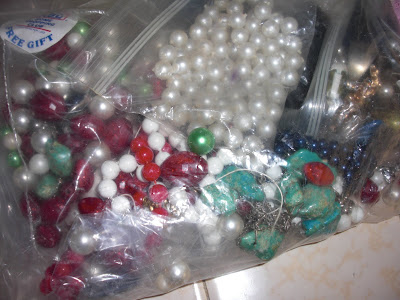
The tutorial I saw originally(can't remember where I saw it or I would post) called for buttons in the middle, but I decided to pull out this bag of my grandma's old beads. I have NO IDEA WHY, but when she passed away 13 years ago, I took a box of broken necklaces, eager to one day restring them & have something from her.
Also in that bag were a handful of CLIP ON EARRINGS...that I promise I will NEVER wear. Because clip-ons hurt. So I decided I could use those earrings for my project today...
Besides, this bag has sat unopened for 13 years, so I figure it was about time to use them!
Hot glue gun will be ready when you are done cutting your circle.
I don't know how well you can see this...
but basically put a dot of glue in the center & then fold edge of fabric to the center...
keep doing that until all your edges are now glued to the center.
I don't know how well you can see this...
but basically put a dot of glue in the center & then fold edge of fabric to the center...
keep doing that until all your edges are now glued to the center.

Find a clip on earring...or button...or whatever you want to use & glue to the top.
Then grab a headband(I picked these up for $.99 for 4 headbands at Burlington this weekend-I'm guessing the $1 store would have them) & glue your flower on. This ENTIRE process took about 2 minutes...


3 comments :
cute and easy! My favorite kind of crafts!
great idea Im so going to try that!
Can i just pay you to make me one??
soooooo cute!
Post a Comment