So glad to have Eva posting on my blog today!! She blogs over at Home Interior Tips and I'm so glad to have her here with us today:) Love the tips on where we can find inspiration as we decorate our homes!
-Staci
Places to Look for Home Decor Inspiration
Making a home out of your living space is supposed to be a wonderful and fulfilling experience. Yes, it certainly does require a lot of time and energy, but in the end it pays off by giving you and your family a place to enjoy and make some happy memories. It’s a very delicate question and depends on personal taste and expectations. So to do the best job possible you should have a clear vision of how you want your home to look like in the end. Where to start, how to get inspired? Let me try and help you out.
Do You Read Morning Papers?
Every morning, while you drink your coffee, you probably read newspapers. Well, why don't you try to start your day with some home decoration magazines. There are many good home decoration magazines published.
House Beautiful,
Elle Decor,
Country Sampler,
Period Living, to name a few. They are a good stepping stone for your search. You can explore different styles and fresh ideas, meet the market and find out about new brands there.
I’m More of a Blogger:
Well, me too. Just swap those printed pages with your laptop and find out about other people’s ideas. I find that it’s very creative to share your ideas with people, combine them, mix them up, see where they end up. Try even to get some comments on your ideas. It is always good to have some unbiased critics around (I can always depend on my mom telling me that my work is commendable).
I Can See it When I Can Touch it:
Many of us can’t visualize things all the way to the final product. Don't worry, it is something that you practice, like everything else. But if you are on a tight schedule, why don’t you try and visit some stores. You don’t even have to bust your legs since there are more and more online stores these days like you can check at shop4furniture.net. Pages and pages of colourful pictures, different setups of every chamber, and all done by professional staff. It is also useful to visit some actual stores. I sometimes find it very helpful to touch the materials and see how they feel. You’ll be touching them for a long time so make sure they feel right.
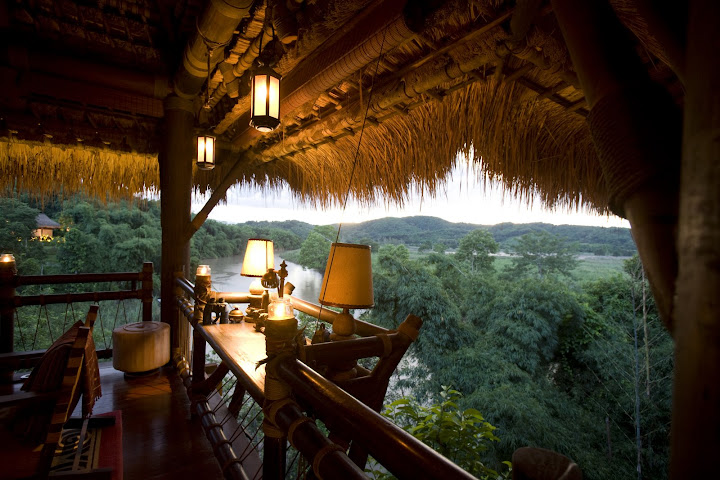
Mother Nature Calls:
I personally enjoy long outdoor walks. You should be amazed by how many great ideas arise from these walks. There is so much stuff out there that can be used inside your home. All you need is some imagination and just craft it. Branches, leafs, rocks can all find a way to your shelf or wall if they are placed with sense. See how Mother Nature did her bedroom and try to use some of her calming colours and vivid settings.
Are You a Peoples Person?
Even if it is mostly during weekends, my favourite pastime is spending time with my family and friends. I realized that paying attention to details at your friend’s place, rather than on a hot gossip that you are more than likely to forget by the end of the week, is an excellent way to practice your eye for details and develop some of your own as well.
Loosen Up, Have Some Fun:
In the end it is all about something that you already have inside of you. Just loosen up and try to enjoy watching for details and combining them. There is no right or wrong answer to this question, just enjoyment or headache.
Love that you ended it with HAVE SOME FUN!!! That's the most important part about decorating your home! Hope you enjoyed this guest post! Check out Eva's blog today!


.JPG)