Showing posts with label holiday ideas. Show all posts

Wednesday, February 8, 2012

LOVE sign

I whipped up a simple LOVE sign for Valentine's Day last week. I just grabbed a board I had on hand and painted it white. I cut a simple straight-edged heart with my jig saw and then free handed the word LOVE, using the width of my foam brush as my guide. Then I roughed it all up with a sander and was done!

Monday, December 5, 2011

JINGLE ALL THE WAY


My husband and I went to a Christmas party this past weekend, thrown by my wonderful bro-in-law & sis-in-law(wish I had pictures of it...because it was SOOOOOO CUTE! Every single detail was AMAZING, her house looked like a boutique and the food was delicious!)

We were supposed to bring some gifts for a white elephant gift exchange. 
We brought one cheesy "white elephant" gift & then I decided to make a quick Christmas decor for our other gift. This honestly took me 10 minutes to whip up & I thought it turned out cute!
{I almost kept it for myself}

I scored some FREE cupboard doors awhile back that sit in my shed, until they are needed:)
I pulled one out and gave it a quick coat of RED CRAFT PAINT.
After it dried, I applied the vinyl
(which I actually already had cut out about a year ago & just never did the project)
Then I lightly brushed on a WHITE coat of paint on the edge, letting the red still show through to look make it look a bit aged...
I grabbed a door knob that I had & screwed it into the hole that was already there & pulled an ornament off my tree that I got at the dollar store last year & hung it on the knob...
ALL DONE! 

*I cut my vinyl with using Make the Cut software...which can be purchased on my sidebar

Friday, December 2, 2011

Christmas Tree Skirt

I have been wanting a TREE SKIRT for the past...
oh 7 years or so, but they are SO EXPENSIVE and most aren't my style.

A few years ago I decided that it wouldn't be too hard to make one, 
but when Christmas rolls around & you pull out your tree & remember 
you still don't have one, you don't have the time & so you throw a red sheet around 
the base of your tree...year after year.

I have been wanting to do a "Peppermint Skirt" because my tree is all red & white, sort of like this one...
But have yet to find the time to sew one up.
Well the other day I pinned this gorgeous tree skirt to my pinterest account.
LOOK AT IT! It is beautiful & ruffly and I love it!!
The best part? NO SEW! She hot glued the whole thing & I decided that I could manage that!
The Crafted Sparrow gives an excellent tutorial, so hop on over there to check it out!
I did mine basically the same, except that I ended up doing my strips more than twice as wide(pure laziness on my part) & I didn't pleat my fabric as often(also pure laziness) & I ended up using pinking shears to cut the edges to avoid fraying.
-------------

My mom was giving away this red tablecloth years ago & I snatched it up, knowing that it was the perfect size to make a tree skirt. And here I am YEARS LATER, actually putting it to use!
Even though I decided against the "Peppermint Swirl", I still wanted to use REDS & WHITES to match my tree & these are the fabrics I found...
My favorite fabric to cut was the STRIPES! So easy, I could just cut right on the lines!:)


I bought 1 1/2 yards of each fabric & then cut 5 inch strips & used about 4 strips of each color...I'm guessing I used about 3/4 yard of each fabric in the end. You would use more if you did the entire skirt and pleated more often like the Crafted Sparrow!
So...my "PLAN" was to do several layers of each fabric, like the Crafted sparrow, but after doing one layer of each, I decided I wanted to leave the rest of it the RED fabric peeking out(ok, if I'm going to be honest, it was pure laziness, AGAIN) If you used an ugly scrap piece of fabric, you would probably want to cover the entire thing, but since my base fabric was red, it worked for me!
I LOVE my tree with it's new RUFFLY SKIRT & can't believe it took me 7 to sit down and whip it up!
If you don't have a skirt around your tree, you now know how EASY it can be, so get to it!

Wednesday, November 30, 2011

Thankful Board


I have had these boards sitting around for over a year, I bought them at Michael's during 90% off after Halloween Clearance. I needed something to take my girlies for visiting teaching for Thanksgiving & these boards came to mind.

I printed up the scripture D&C 59:7
"Thou shalt thank the Lord thy God in all things"

I sanded the board a bit, trying to make it look more aged & used my cricut software(MAKE THE CUT---can be purchased on my sidebar) to cut it out in cream vinyl...
Easy Peasy! Hopefully my girls enjoyed a little Thanksgiving decor!

Tuesday, October 11, 2011

Cute Little "Things"

We had our 1st of many COSTUME PARTIES last night. 
An annual Family Halloween Carnival & the boys were excited to get to wear their costumes. 
My 4 year old decided about a month ago that he wanted to be THING 1 from Cat in the Hat. 
I figured they would be an easy costume to make, so I thought it was a great idea:)

I found these Blue Supermodel Bob wigs at Walmart and chopped them up a bit with some scissors. 
The red long sleeved shirts & red sweatpants are also courtesy of Walmart, $3 each.
I sewed on some white felt that I had on hand & wrote THING 1 & THING 2 in permanent marker...
Now...for the CAT IN THE HAT...
my sweet little 3 month old got the part & I just pulled out a black turtleneck onsie that I had, sewed on a red felt "bowtie" and made a HAT out of red & white felt. I drew on a black nose & whisker with eyeliner(they have mostly rubbed off in this picture, since this was at the end of the party)
They were ADORABLE!
My goal the next time they get all dressed up, is to get a good picture of all 3 of them together! :)

Thursday, June 16, 2011

Landee Do...Staci Copy


Go snatch this free printable over at Landee See, Landee Do.
It is an ADORABLE & EASY PEASY decoration!

I whipped mine out in about 10 minutes, including drying time on some frames I spray painted white.
(You might need more time if it isn't 105 degrees outside...)
and if you already have a frame, then it will take about 1 minute to push PRINT on your computer!

I've had these frames sitting in my closet since I think my wedding & it was time to put them to use...
a quick coat of white spray paint. I honestly think they were completely dry when I stopped spraying.
It is HOT today.
 While drying, I printed out Landee's free printable, I decided to do 2, since we are having a family auction next week at our Family Reunion & thought this would be a cute thing to donate!
 All done!!!
 THANKS Landee!!!

Monday, June 13, 2011

Favorites for Fathers!!!


I have been loving the Father's Day Ideas out there! If you have a cute father's day idea...please SHARE!!!


I love this "tool belt" card found at 
The Hybrid Chick...

Several cute ideas from around blogland are found at I HEART NAPTIME, 
including the following:

cute tie sugar cookies...
My dad is a HUGE A&W Rootber fan, so this is perfect for him!
The iDad card!
haha...I might just have to make this for my apple obsessed husband!

Check out these adorable cards(and they are super easy to make!_
Ginger Snap Crafts shares the idea...


Check out this banner & other FREE printables over at the 

This book would be perfect for any dad or grandpa.
Check it out at Design Aglow!
In Between Laundry shares a free card printable that is my all time FAVORITE idea I have came across this year!
Use it as your card this year or stick it in a frame:)
I just love the "eenie, meenie, miney, mo"...

 Last year I dressed my boys in their daddy's ties and shoes & snapped a couple quick pics, paired with a poem by my good friend Debbie & my husband loved it!

 Hope one of these ideas is just what you were looking for!!!

Update:
Someday Crafts has a fun FATHER'S DAY linky party up, so go check out more fun projects there & link up your own!


Wednesday, April 20, 2011

Spring Peeps!

My cousin Joyce emailed me a Blog Link to a DARLING Peep Craft, 
that I just had to share!!!

Hop on over to Greetings from the Asylum & check it out!
 At first I thought they were REAL PEEPS...but they are STYROFOAM!!!
Which makes me love it even more, because it will stay good year after year!

Tanya gives a FULL TUTORIAL on her blog, go check it out & you can make yourself some PEEP DECOR TODAY!

Monday, April 11, 2011

Faux Robins Eggs

 I have plans to try these out this week!
They are made from PLASTIC EASTER EGGS!


 Who knows if I will actually get around to it, but I figured I would share in case you are looking for a fun Easter Craft!!!

Thanks for the GREAT idea Blue Cricket!

Monday, March 7, 2011

Shamrock

Last week, my friend Debbie asked if I had seen the 
DARLING Bead Board Shamrock on Lolly Jane's blog??
I hadn't, so I headed over & found this...
 She asked if I wanted to come over the next day & replicate!?!
Of COURSE I did!!!

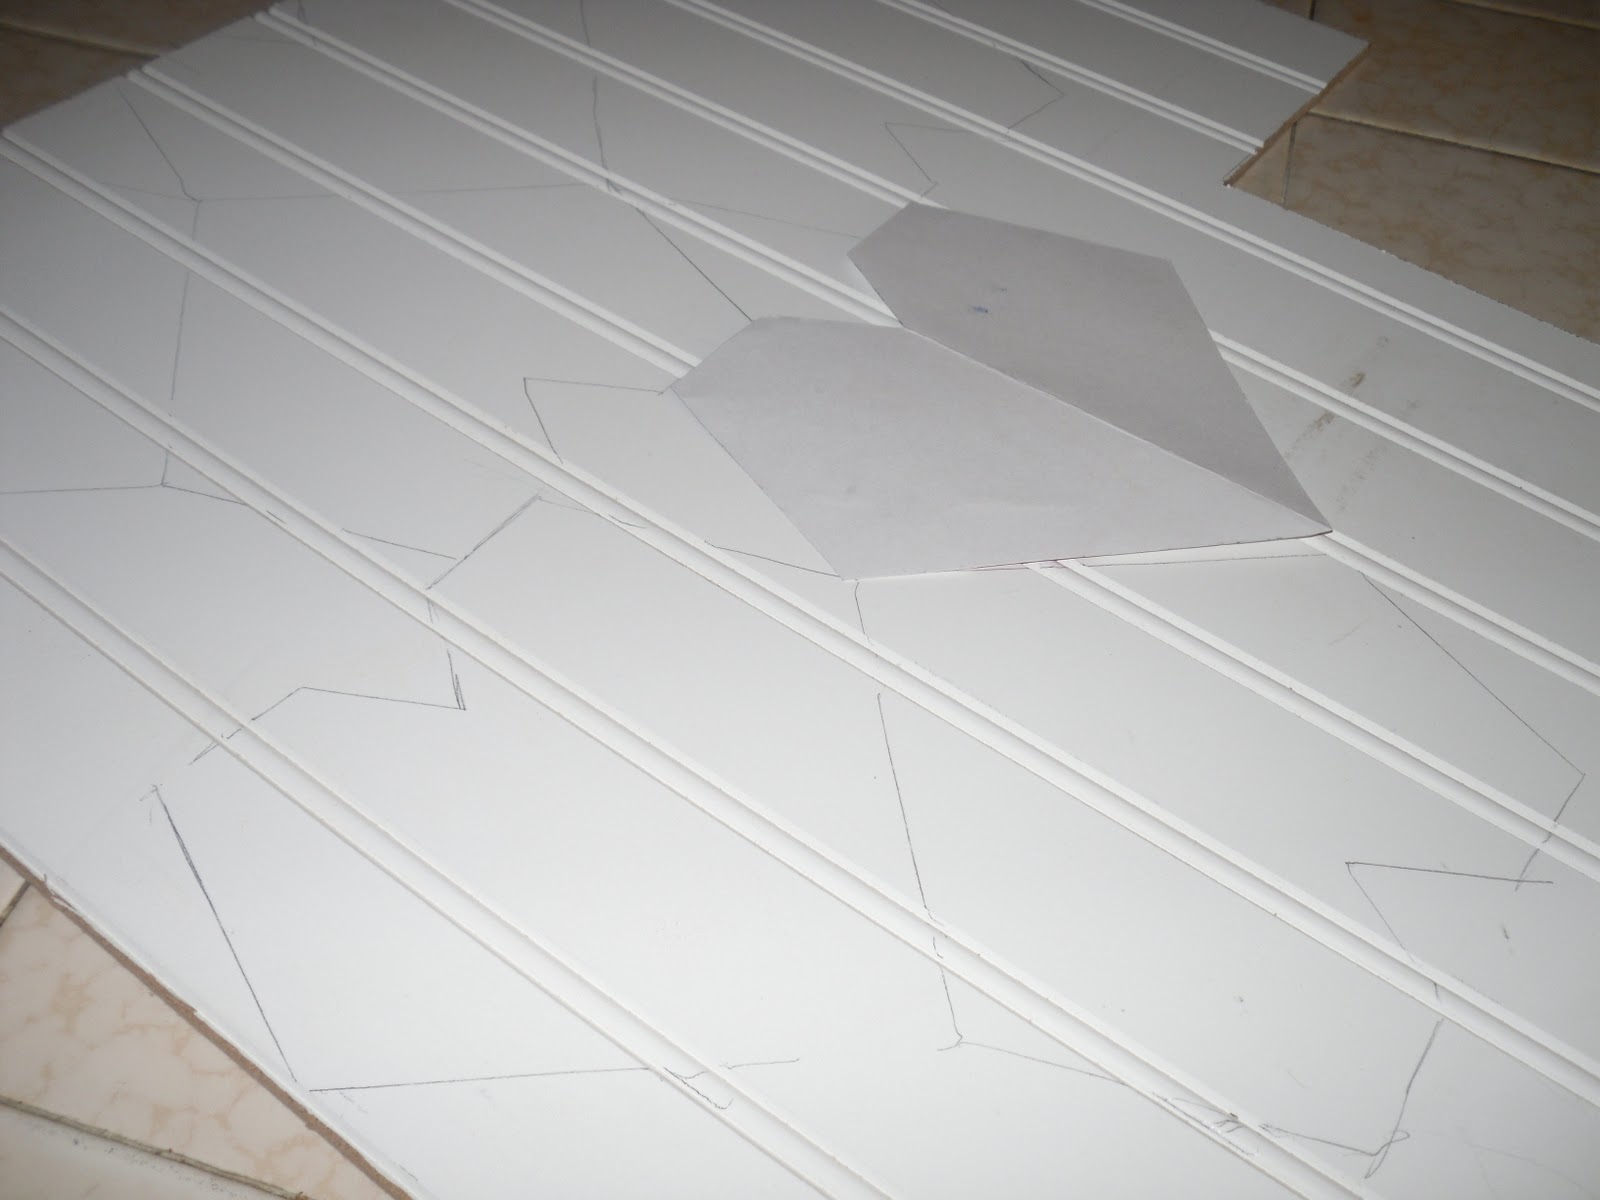
I brought over some scrap beadboard & Debbie had paints galore & her wonderful husband cut out the shamrocks for us, that we painted green...
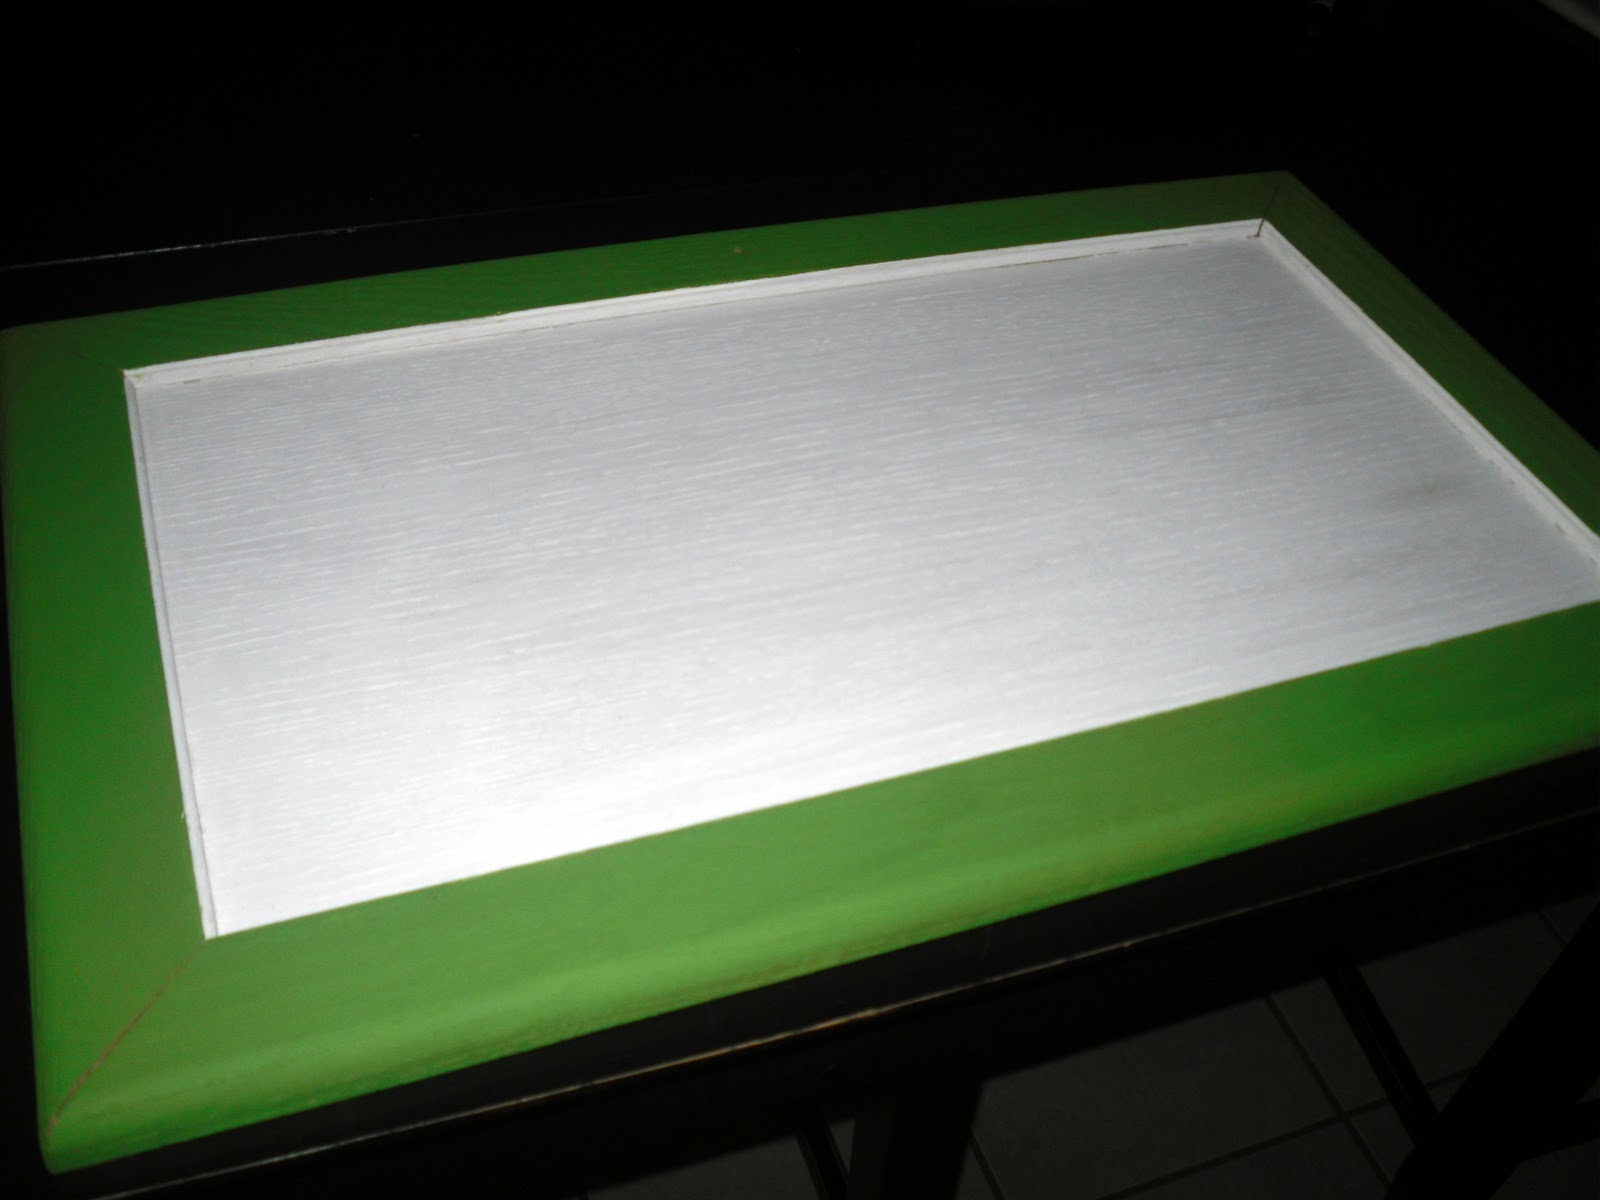
I didn't have any plywood, but we had some CUPBOARD DOORS that we scored for FREE awhile back, so I brought one over, hoping I could make it work. It wasn't a square, but I figured it would be cute & painted the border green & the base white...
After adding the shamrock, there was a LOT of WHITE SPACE...
but thanks to Debbie & her stash of chipboard letters, I dug around and found the letters, "LUCKY", painted them green & poured on the glitter! Once I got home I decided there was still enough white space to add "YOU" & cut out the letters on my Cricut using some cute green scrapbook paper. Then I added a few shiny shamrocks that I had sitting in an Apothecary Jar on my entry table...
Almost forgot to mention, that after painting the cupboard door & shamrock, I decided to distress it with a sander...
And it was DONE! 
Thanks Debbie & Janell for the fun afternoon of CRAFTIFYING!!!


Friday, February 11, 2011

Valentine for MOMS

Inspired by this heart I made LAST YEAR for Valentine's Day...

I decided to make a similar craft with my Preschool Kids this week for Valentine Week, to give to their moms! I made them much smaller---more like 6" & cut out a pattern and then traced it onto some scrap bead board I had on hand...
This year I didn't even have to use a hand saw...yay!
I got to use my jigsaw that I got for my birthday this past October...
After I cut them out, I drilled 2 holes in them...
And then sanded them down!

Then I let my preschoolers PAINT THEM...pink or red! And then they sprinkled glitter on, while the paint was still wet...
Letting them dry...
Then we added some Valentine Ribbon, so they could hang them up & the kids were SO EXCITED to give them to their MOMS!!!


Photobucket